How to prepare a caravan for storage the right way can mean the difference between an effortless next road trip and thousands of dollars in hidden repair bills. After parking our family van following a rainy trek up the East Coast, I learned this lesson the hard way. I left a half-empty box of pancake mix in an overhead locker and forgot to isolate our house battery.
Four months later, I unlocked the door to find furry green mould spreading across our dining cushions, a completely dead battery bank, and a colony of pantry moths.
Modern touring rigs carry a substantial asset replacement value. Letting your van sit unchecked without proper wintering or tropical layup can quickly trigger an expensive policy exclusion clause on your caravan insurance.
Whether you need holiday caravan drop off storage between highway runs or a secure bay for the wet season, this comprehensive guide gives you actionable steps to protect your van from top to tow hitch.
Understanding Coastal Humidity: Why Aussie Vans Suffer
Caravans stored along coastal transit routes face extreme weather swings. According to humidity tracking from the Bureau of Meteorology (BOM – QLD/NSW humidity data), summer relative humidity % levels regularly sit above 75 to 85 percent along the eastern seaboard.
When hot daytime air cools rapidly at night inside a sealed cabin, trapped moisture condenses against cold aluminium walls, pop-top vinyl, and window frames. This cycle creates a hotbed for black mould and timber dry rot.
Preventive care ROI shows up immediately when you look at repair costs. Replacing a rotted wall frame or mouldy ceiling lining often costs thousands of dollars in unexpected maintenance CapEx. Simple prep work stops that moisture build-up before it starts.
Step 1: Mould and Damp Defense Inside the Cabin
Sealing your caravan completely shut during humid summer months is a major mistake. Without airflow, stagnant air traps moisture inside soft furnishings.
Clean and Dry Every Surface
Wipe down all hard surfaces with a diluted solution of white vinegar and water. Avoid harsh bleach products that can degrade internal cabinet laminate and vinyl trim.
Elevate Your Cushions and Mattresses
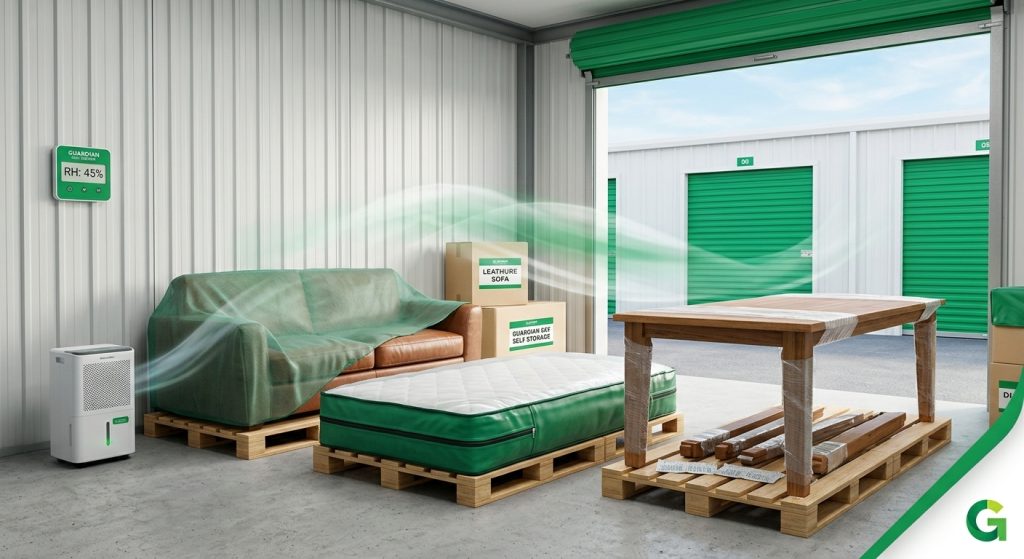
Mould thrives in dark spaces beneath heavy foam cushions. Prop up your lounge cushions and set your mattress on its side or place plastic spacers underneath. This simple step lets air circulate across both sides of the foam.
Deploy High-Capacity Moisture Traps
Place reusable silica gel bags and moisture-absorbing refill tubs in key areas:
- One tub in the shower recess
- One container under the main bed base
- One bag in every enclosed wardrobe and pantry cupboard
Empty liquid from refill tubs every month if you store your van long term.
“A common mistake we see in coastal yards is closing every single roof hatch tight. Leave moisture traps in place, tilt cushions upright, and ensure your factory-fitted wall vents remain unblocked.”
Step 2: Battery Maintenance Specs (AGM vs Lithium)
Batteries discharge naturally over time. If a deep-cycle battery sits completely flat for weeks, internal sulfation will destroy its capacity permanently.
| Battery Chemistry | Self-Discharge Rate | Ideal Storage Voltage | Key Maintenance Practice |
| AGM / Lead-Acid | 3% to 5% per month | 12.6V to 12.8V | Connect a multi-stage trickle charger or top up every 6 weeks |
| Lithium (LiFePO4) | 1% to 2% per month | 13.2V (around 50% SOC) | Disconnect completely via battery isolator switch; avoid trickle float |
Always follow your manufacturer’s battery maintenance specs. For AGM setups, a regulated 240V trickle charger or a clean rooftop solar maintainer keeps the cells float-charged without boiling the acid.
If your storage facility does not offer 240V power at your bay, flip your master battery isolator switch. Unplug phantom draw items like digital clocks, radio memories, and USB charge sockets that slowly drain your power bank.
Step 3: Verified Pest-Proofing Steps
Rodents and insects can destroy electrical looms, silicone water pipes, and canvas screens within days.
Follow these verified pest-proofing steps before you lock the door:
- Remove all food and pantry staples: Never leave spices, dried beans, sugar packets, or sealed cardboard boxes inside. Mice can chew through thin cardboard and plastic bags easily.
- Flush and sanitise water lines: Run a full fresh tank sanitiser through your plumbing. Conduct a thorough grey water tank flush to remove decaying food grease and stale sink odours that draw insects.
- Block exterior openings: Place wire mesh or insect screens over your external fridge vents, water heater flue, and gas heater ducts.
- Scatter natural deterrents: Put peppermint oil drops on cotton pads near cable entry points and across the chassis A-frame.
Step 4: Gas and Water System Shutdown
Safe Work Australia regulations and storage facility rules outline strict protocols for volatile fuels.
- Isolate gas cylinders: Shut every cylinder valve tight. If your facility requires off-chassis cylinder storage, disconnect bottles and store them upright in an open-air rack. Note that LPG bottle storage regulations prohibit leaving leaking fittings connected in enclosed garages.
- Drain all water tanks: Open your low-point drain taps and empty the hot water heater system completely. Stagnant water sitting in plastic tanks over hot months develops foul algae and bacteria blooms.
- Leave the fridge doors ajar: Click your fridge and freezer latches into their vent positions. If your fridge model lacks a venting lock, fold a hand towel over the door seal to keep it cracked open.
Step 5: Exterior, Chassis, and Tyre Preparation
Leaving your caravan exposed to weather can result in tyre flat-spots and baked-on grime that ruins your clear coat.
- Wash off road grime: Wash away red dirt, bug splatter, and corrosive salt air. Apply a quality synthetic polymer sealant across the fibreglass and aluminium cladding.
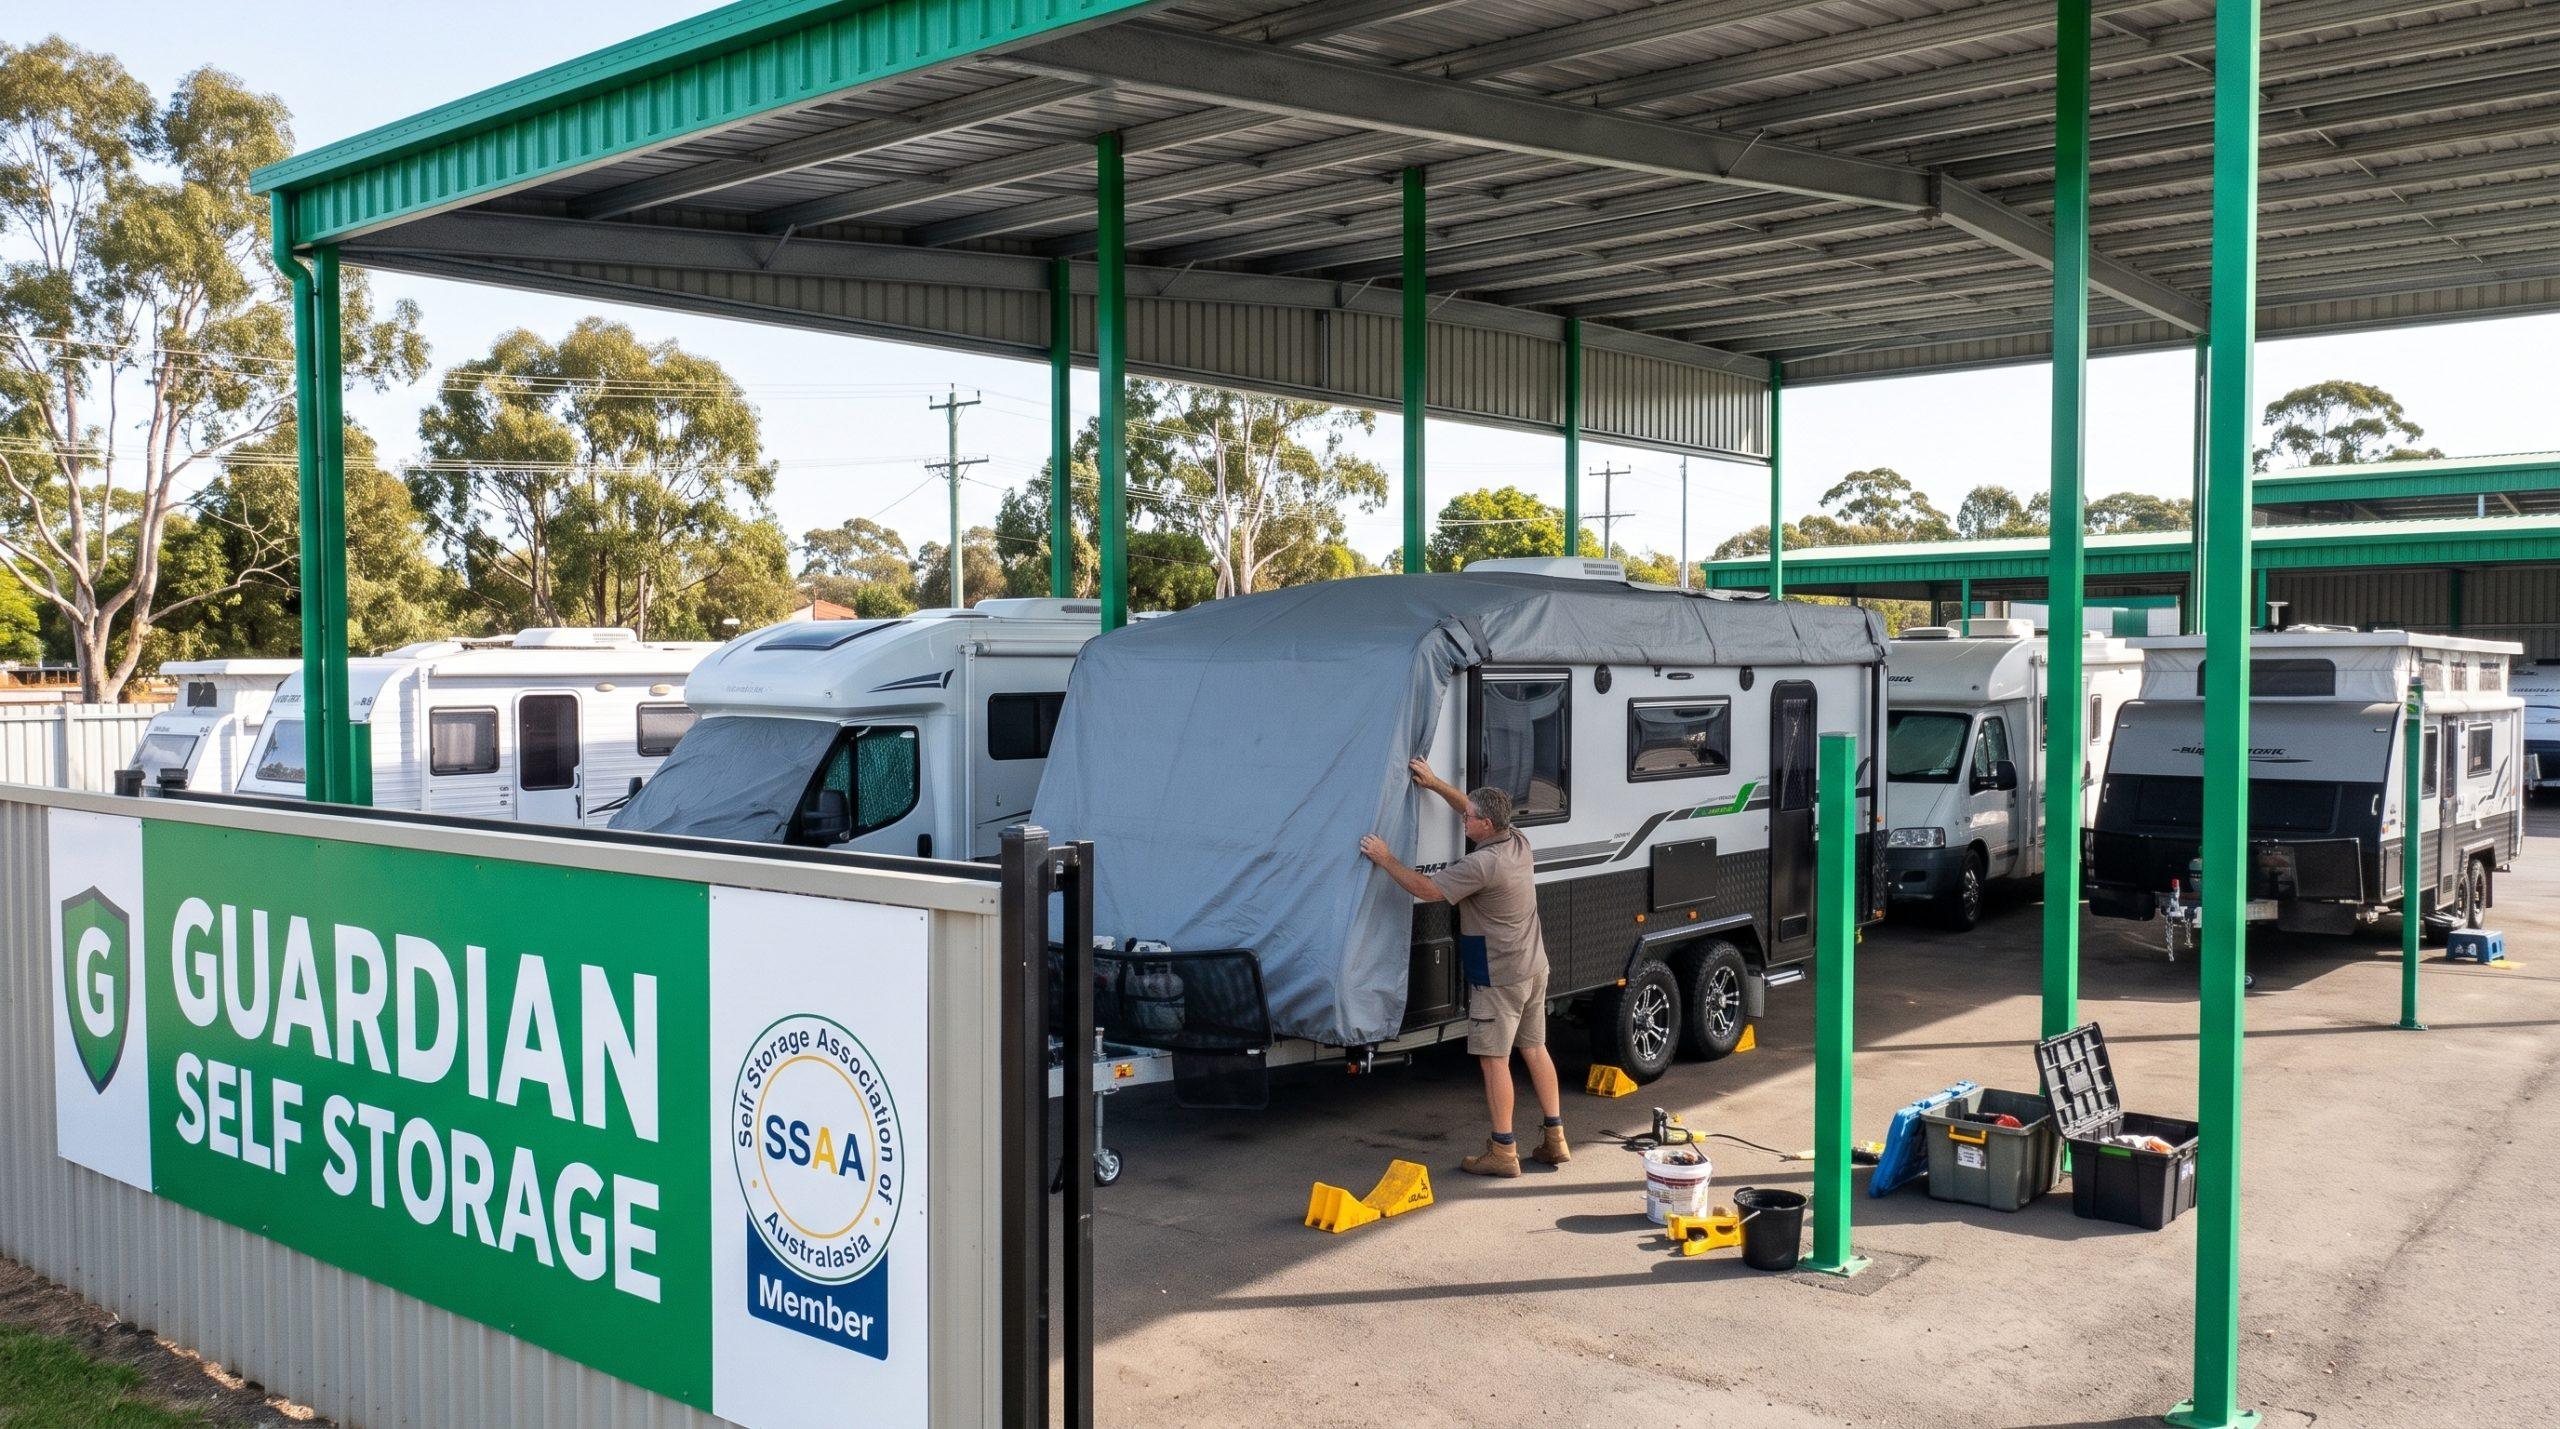
- Shield tyres from flat-spotting: Park the van on timber boards or rubber levelling ramps rather than bare dirt. Pump tyre pressures up by 3 to 4 PSI over your normal highway towing pressure to compensate for temperature drops. Secure the wheels with heavy-duty wheel chocks and release the mechanical handbrake cable slightly so internal brake shoes do not rust seize against the drums.
- Choose the right cover: If you store your rig in an outdoor space, choose a premium multi-layer breathable caravan cover. Never throw a cheap blue plastic tarp over your roof. Non-breathable tarps trap condensation underneath and rub your clear coat raw in high winds.
Highway Hub Storage: QLD and NSW Transit Routes
Picking the right storage location saves hours of driving on travel days.
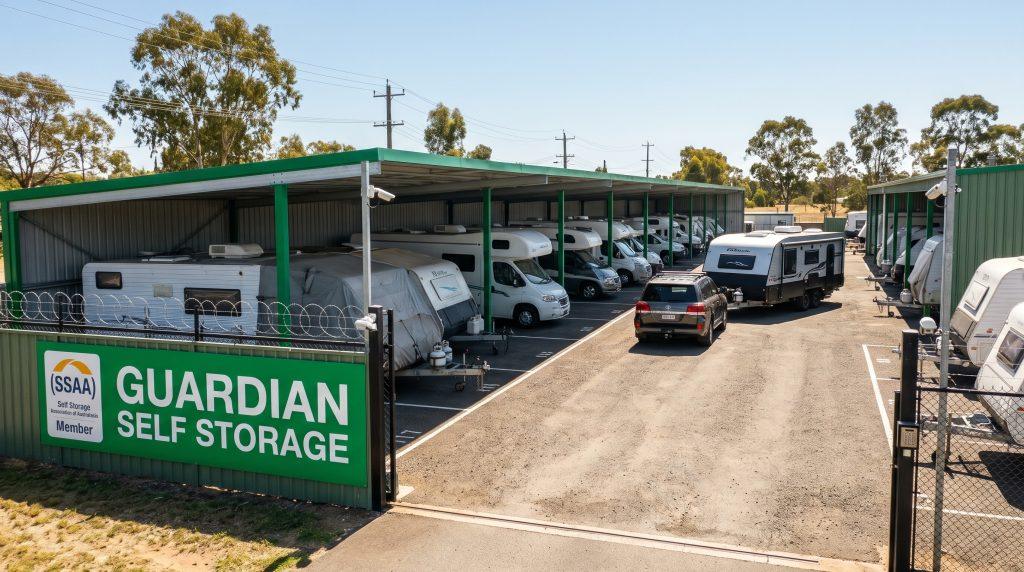
If you live in regional New South Wales or northern Queensland, look for storage hubs placed near major arterial routes. Choosing caravan storage near Bruce Highway gives you an easy launch point heading north toward the Whitsundays or Cairns.
Similarly, Pacific Highway caravan storage lets cross-border travellers park their rigs without towing large, heavy vans through congested city traffic in Newcastle, the Central Coast, or Gold Coast bottlenecks. Facilities situated just off these major routes make holiday drop-offs and weekend pick-ups quick and stress-free.
Storage Facility Audit and Insurance Checklist
Before you walk away from your van, confirm your paperwork matches real conditions.
- Check declared insurance value: Verify that your policy reflects the genuine market value of your rig and aftermarket accessories.
- Read the fine print: The Insurance Council of Australia (ICA) notes that many policies exclude damage from vermin, mould, and gradual water ingress under standard policy terms. Showing that you followed reasonable care and used an approved secure yard protects future claims.
- Confirm security features: Check that your facility provides back-to-base camera surveillance, individually alarmed zones, and secure perimeter fencing.
Conclusion
Knowing how to prepare caravan for storage ensures your rig stays in peak mechanical and cosmetic shape between trips. Taking a few hours to manage humidity, isolate house batteries, drain water systems, and lock down pests protects your mobile investment and saves you from frustrating repair bills. When the open road calls again, your van will be clean, powered up, and ready to roll.
Keep your van fully protected between journeys at Guardian Self Storage.
Reserve your secure caravan bay today to protect your travel setup and enjoy hassle-free pick-up before your next big getaway.